A/C leaks can be a difficult auto shop repair. A vehicle may arrive with weak cooling, a low refrigerant charge, or a customer complaint that only happens on hot days. The problem is clear, but the leak is not always easy to see.
That is where UV dye leak detection helps. Instead of relying on guesswork for auto shop repair, a technician can introduce fluorescent dye into the A/C system, circulate it, and inspect the system with a compatible UV or blue light. When refrigerant and oil escape through a leak point, the dye leaves a visible trace. The result is a faster, clearer path from complaint to confirmed repair.
For auto repair shops, that visibility matters. It can help reduce wasted diagnostic time, avoid unnecessary parts replacement, improve customer communication, and lower the chance of callbacks for leaks that were missed the first time.
The Problem: Hidden Leaks Slow Down Auto Shop Repair
Not every A/C leak is obvious. Some leaks are small. Others hide around fittings, hose crimps, condenser edges, compressor seals, or areas blocked by brackets and covers. Evaporator leaks can be even harder to confirm because the component is not easy to view directly.
When the leak source is unclear, shops can lose time in several ways:
- Rechecking the same vehicle more than once
- Replacing parts based on suspicion instead of proof
- Waiting for a small leak to become large enough to find
- Explaining an invisible problem to a skeptical customer
- Bringing the customer back after the system loses charge again
A repeat A/C visit does more than disrupt the schedule. It can reduce customer confidence, tie up a bay, and cut into the profitability of a repair that should have been resolved the first time.
The Solution: Make the Leak Visible
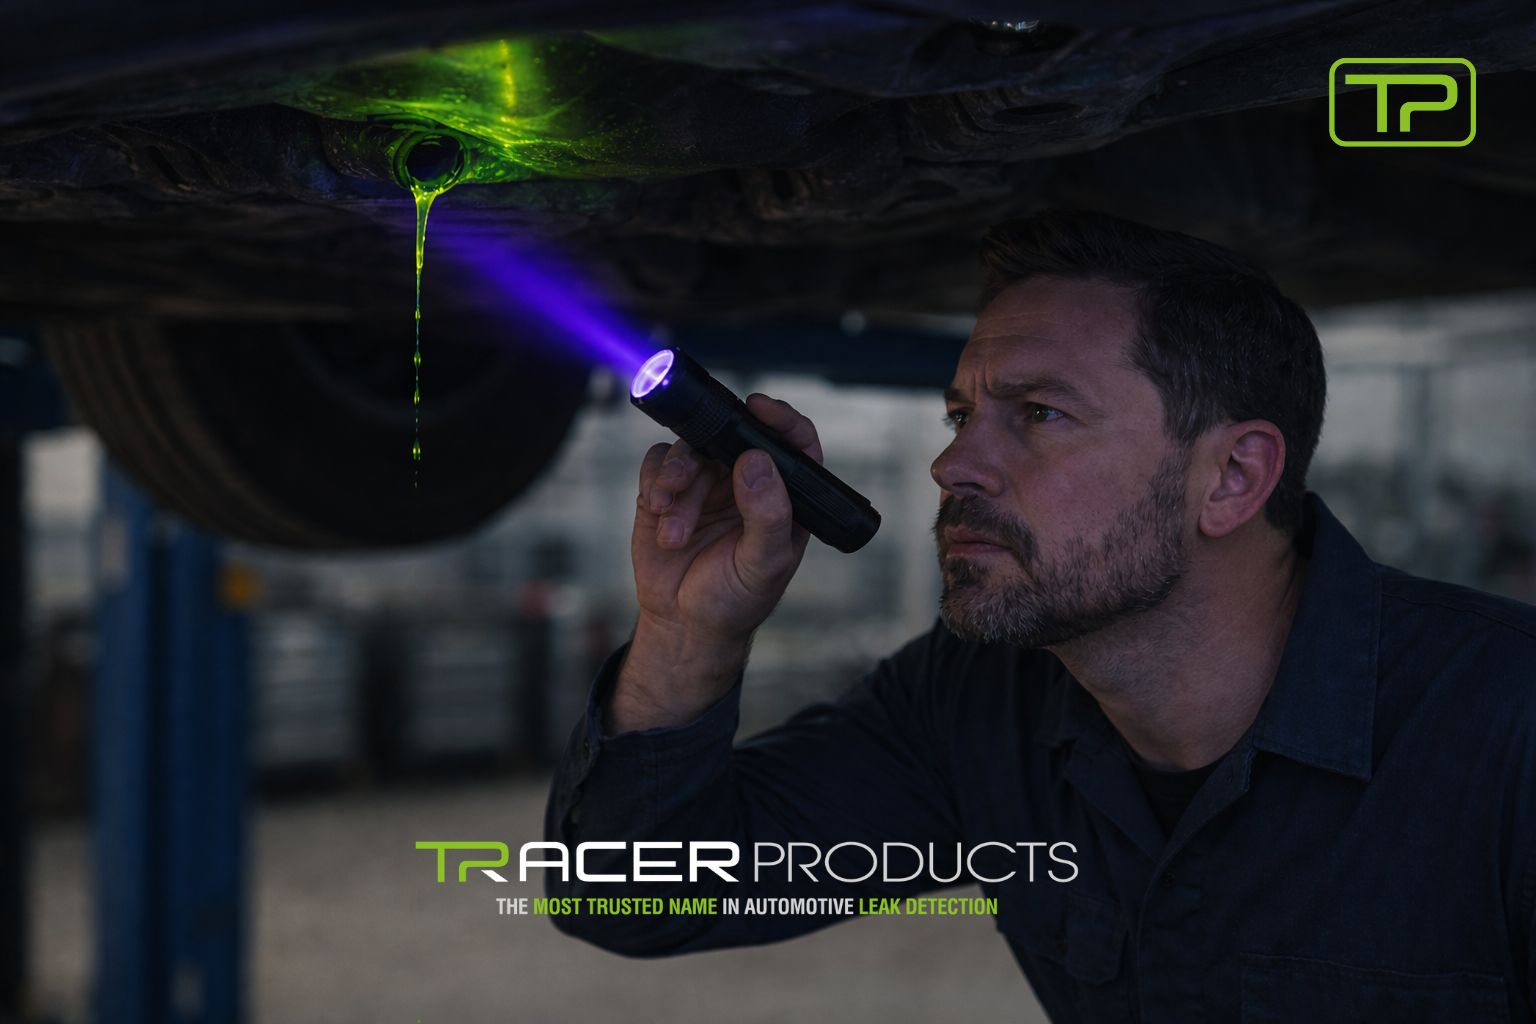
Tracerline® UV dye gives technicians a simple way to turn a hidden leak into visual evidence. The dye travels with the system lubricant. When refrigerant and oil escape, the dye escapes too. Under the right inspection lamp and enhancing glasses, the leak area glows so the technician can see where the leak is coming from.
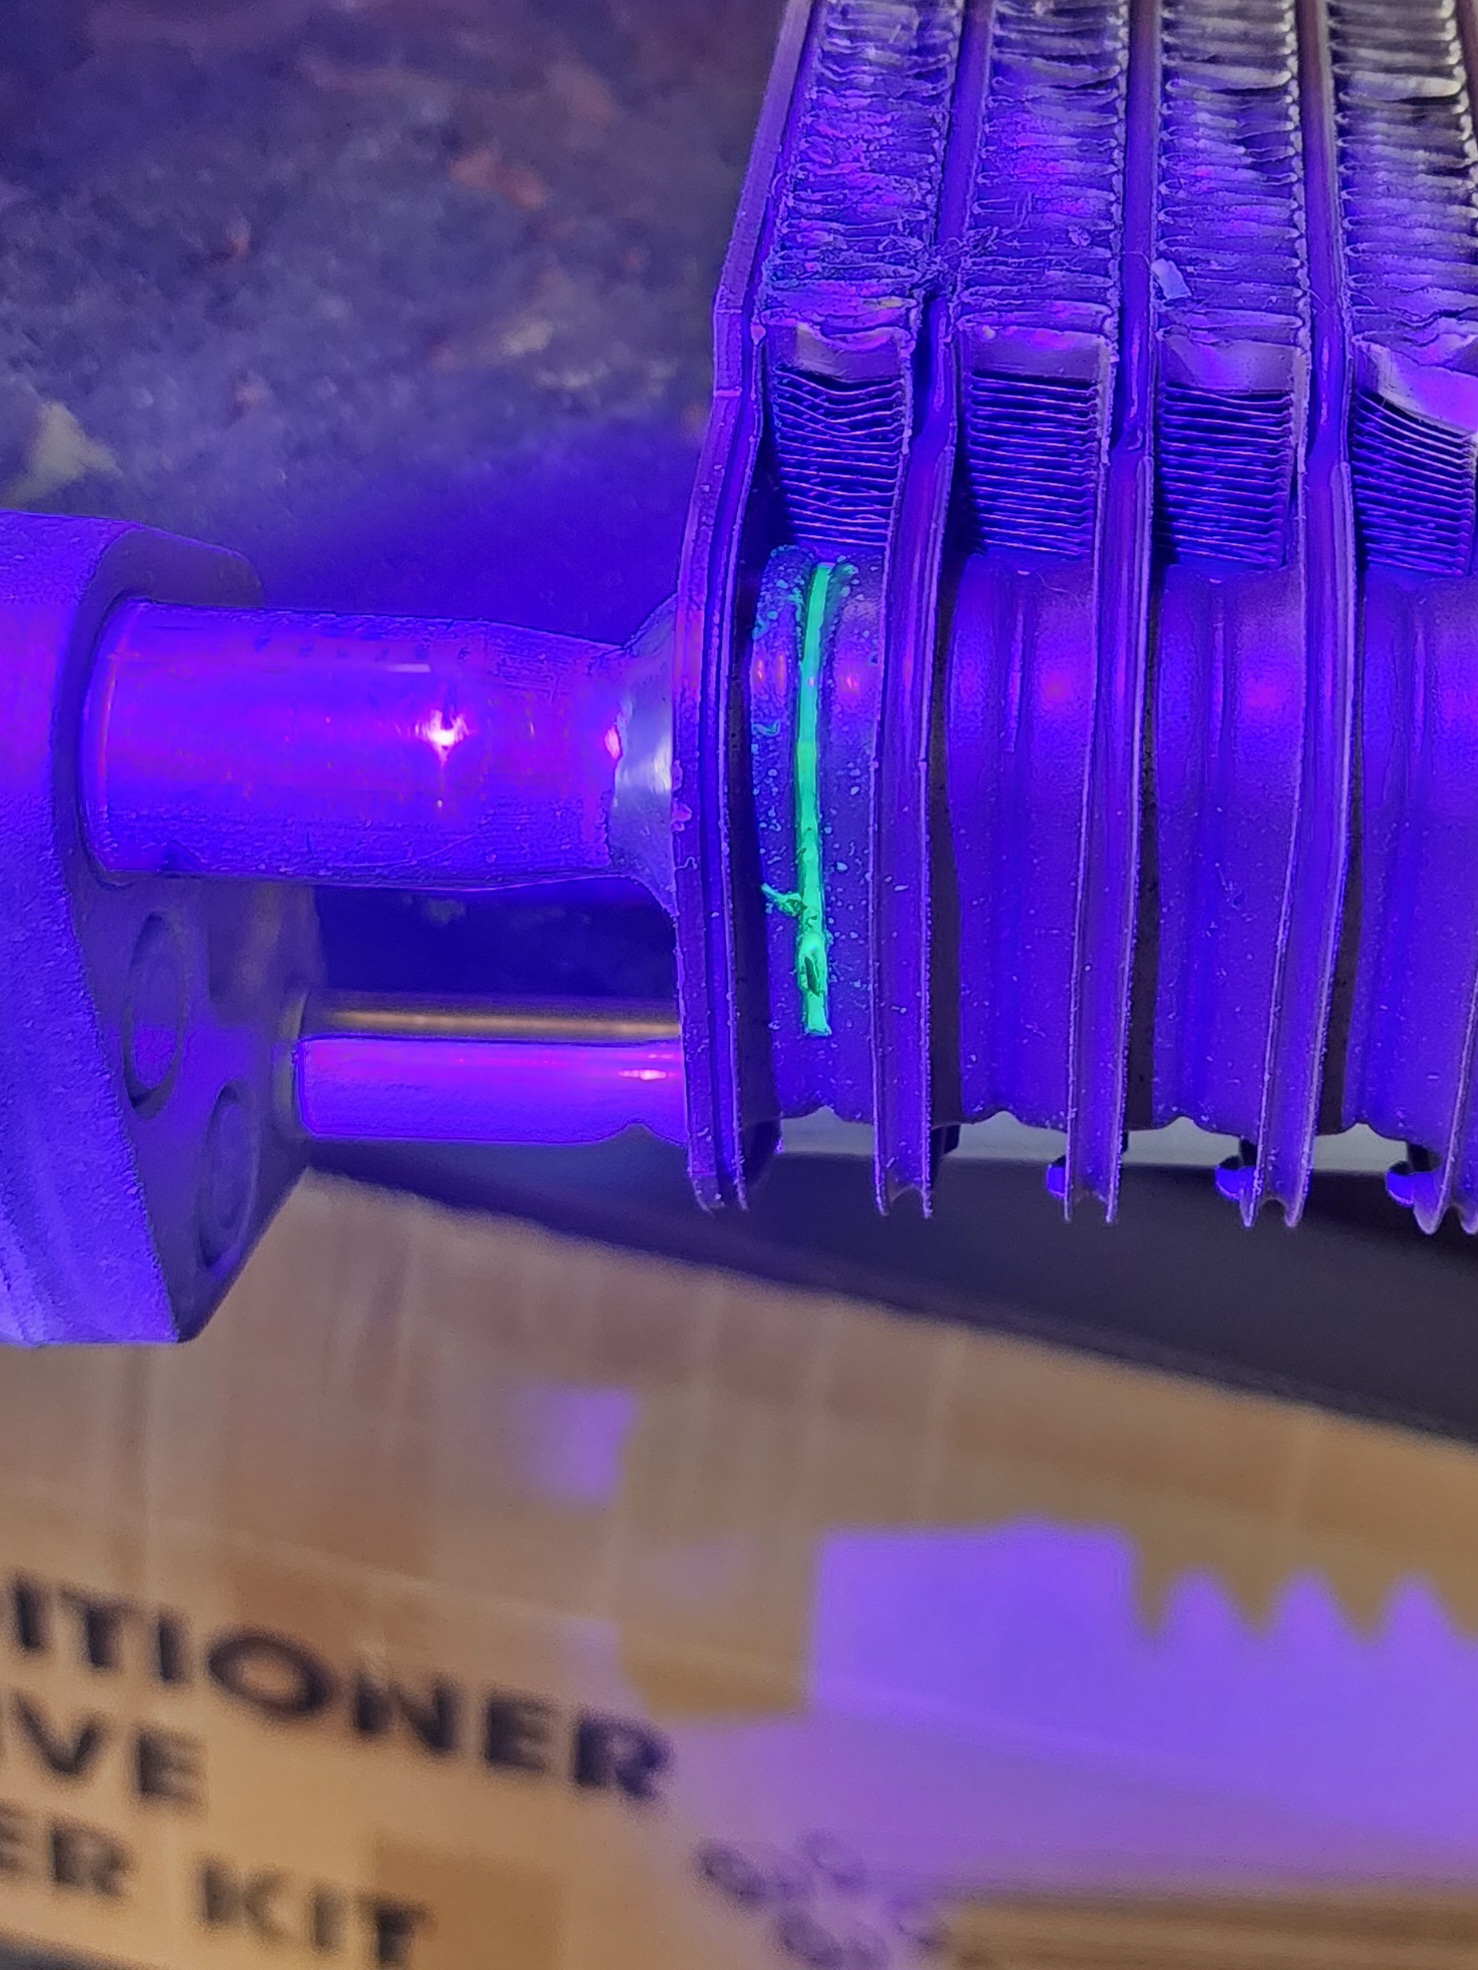
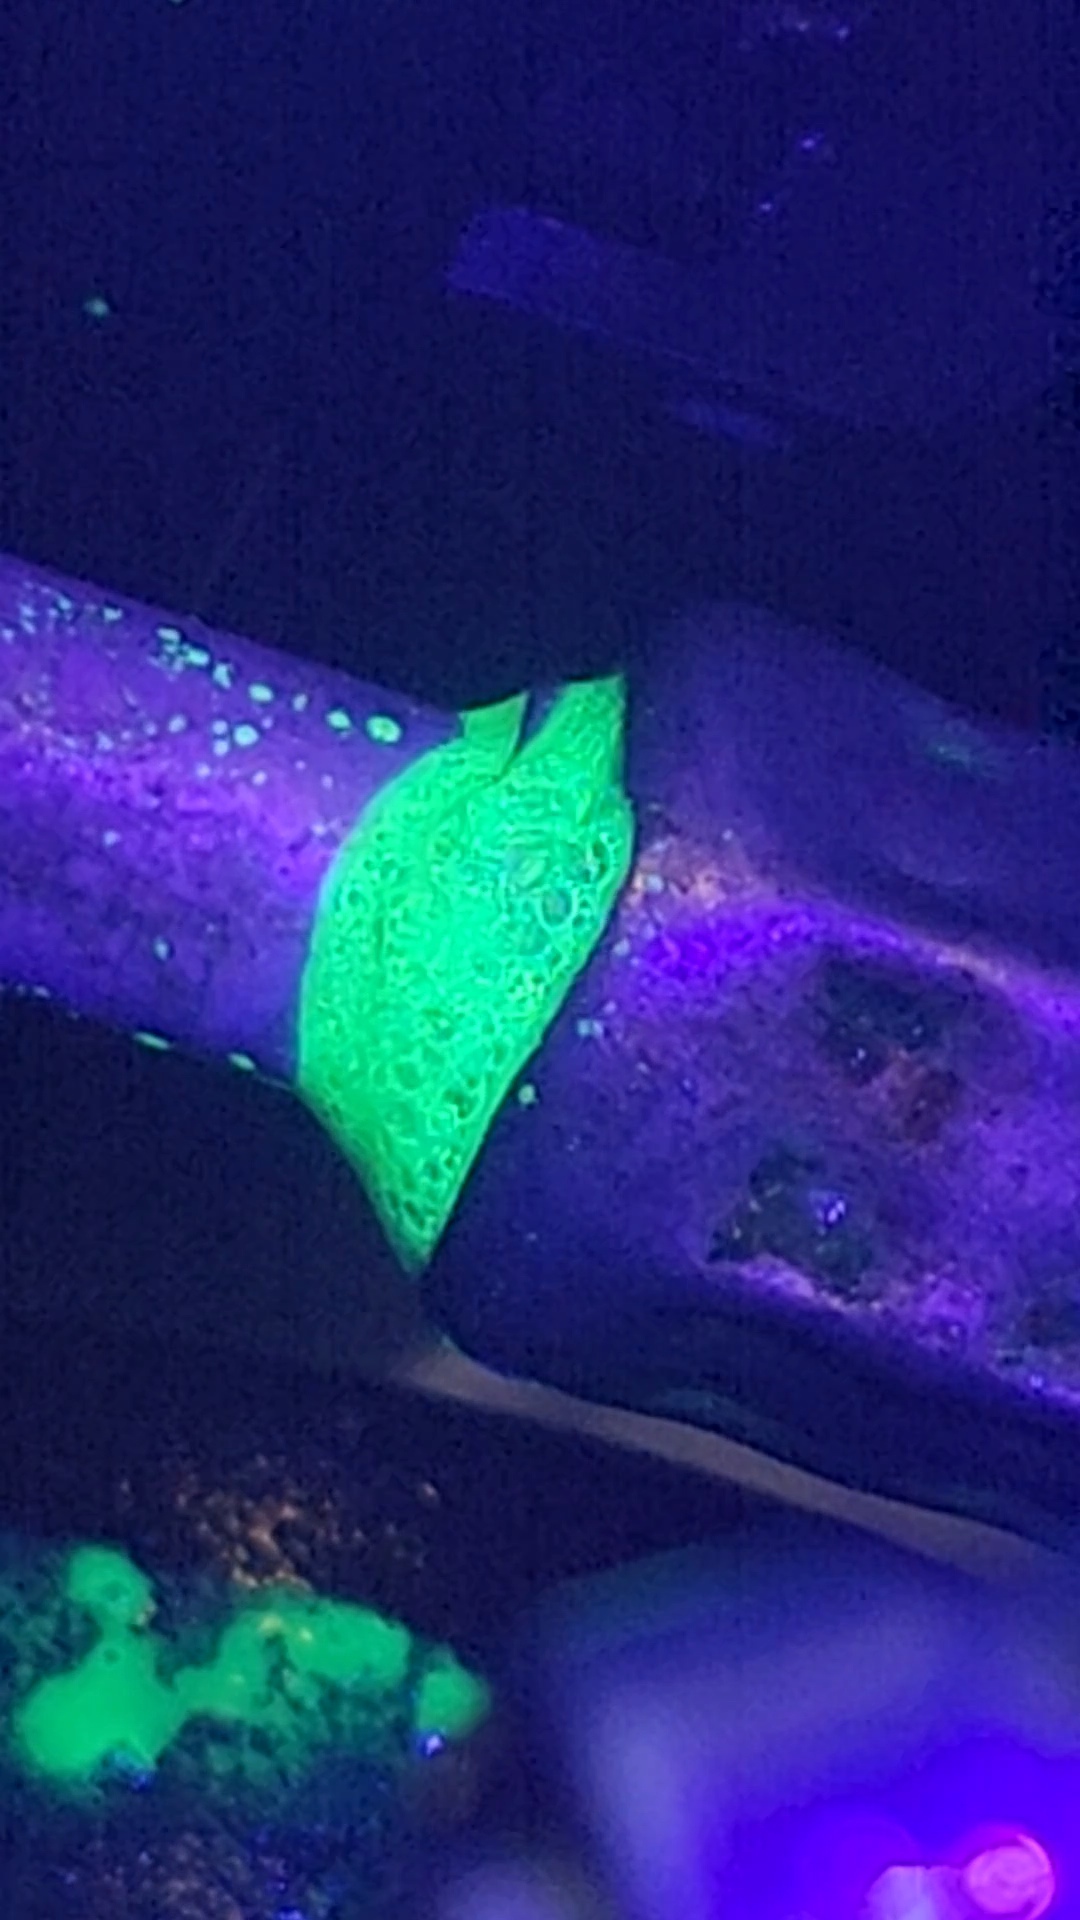
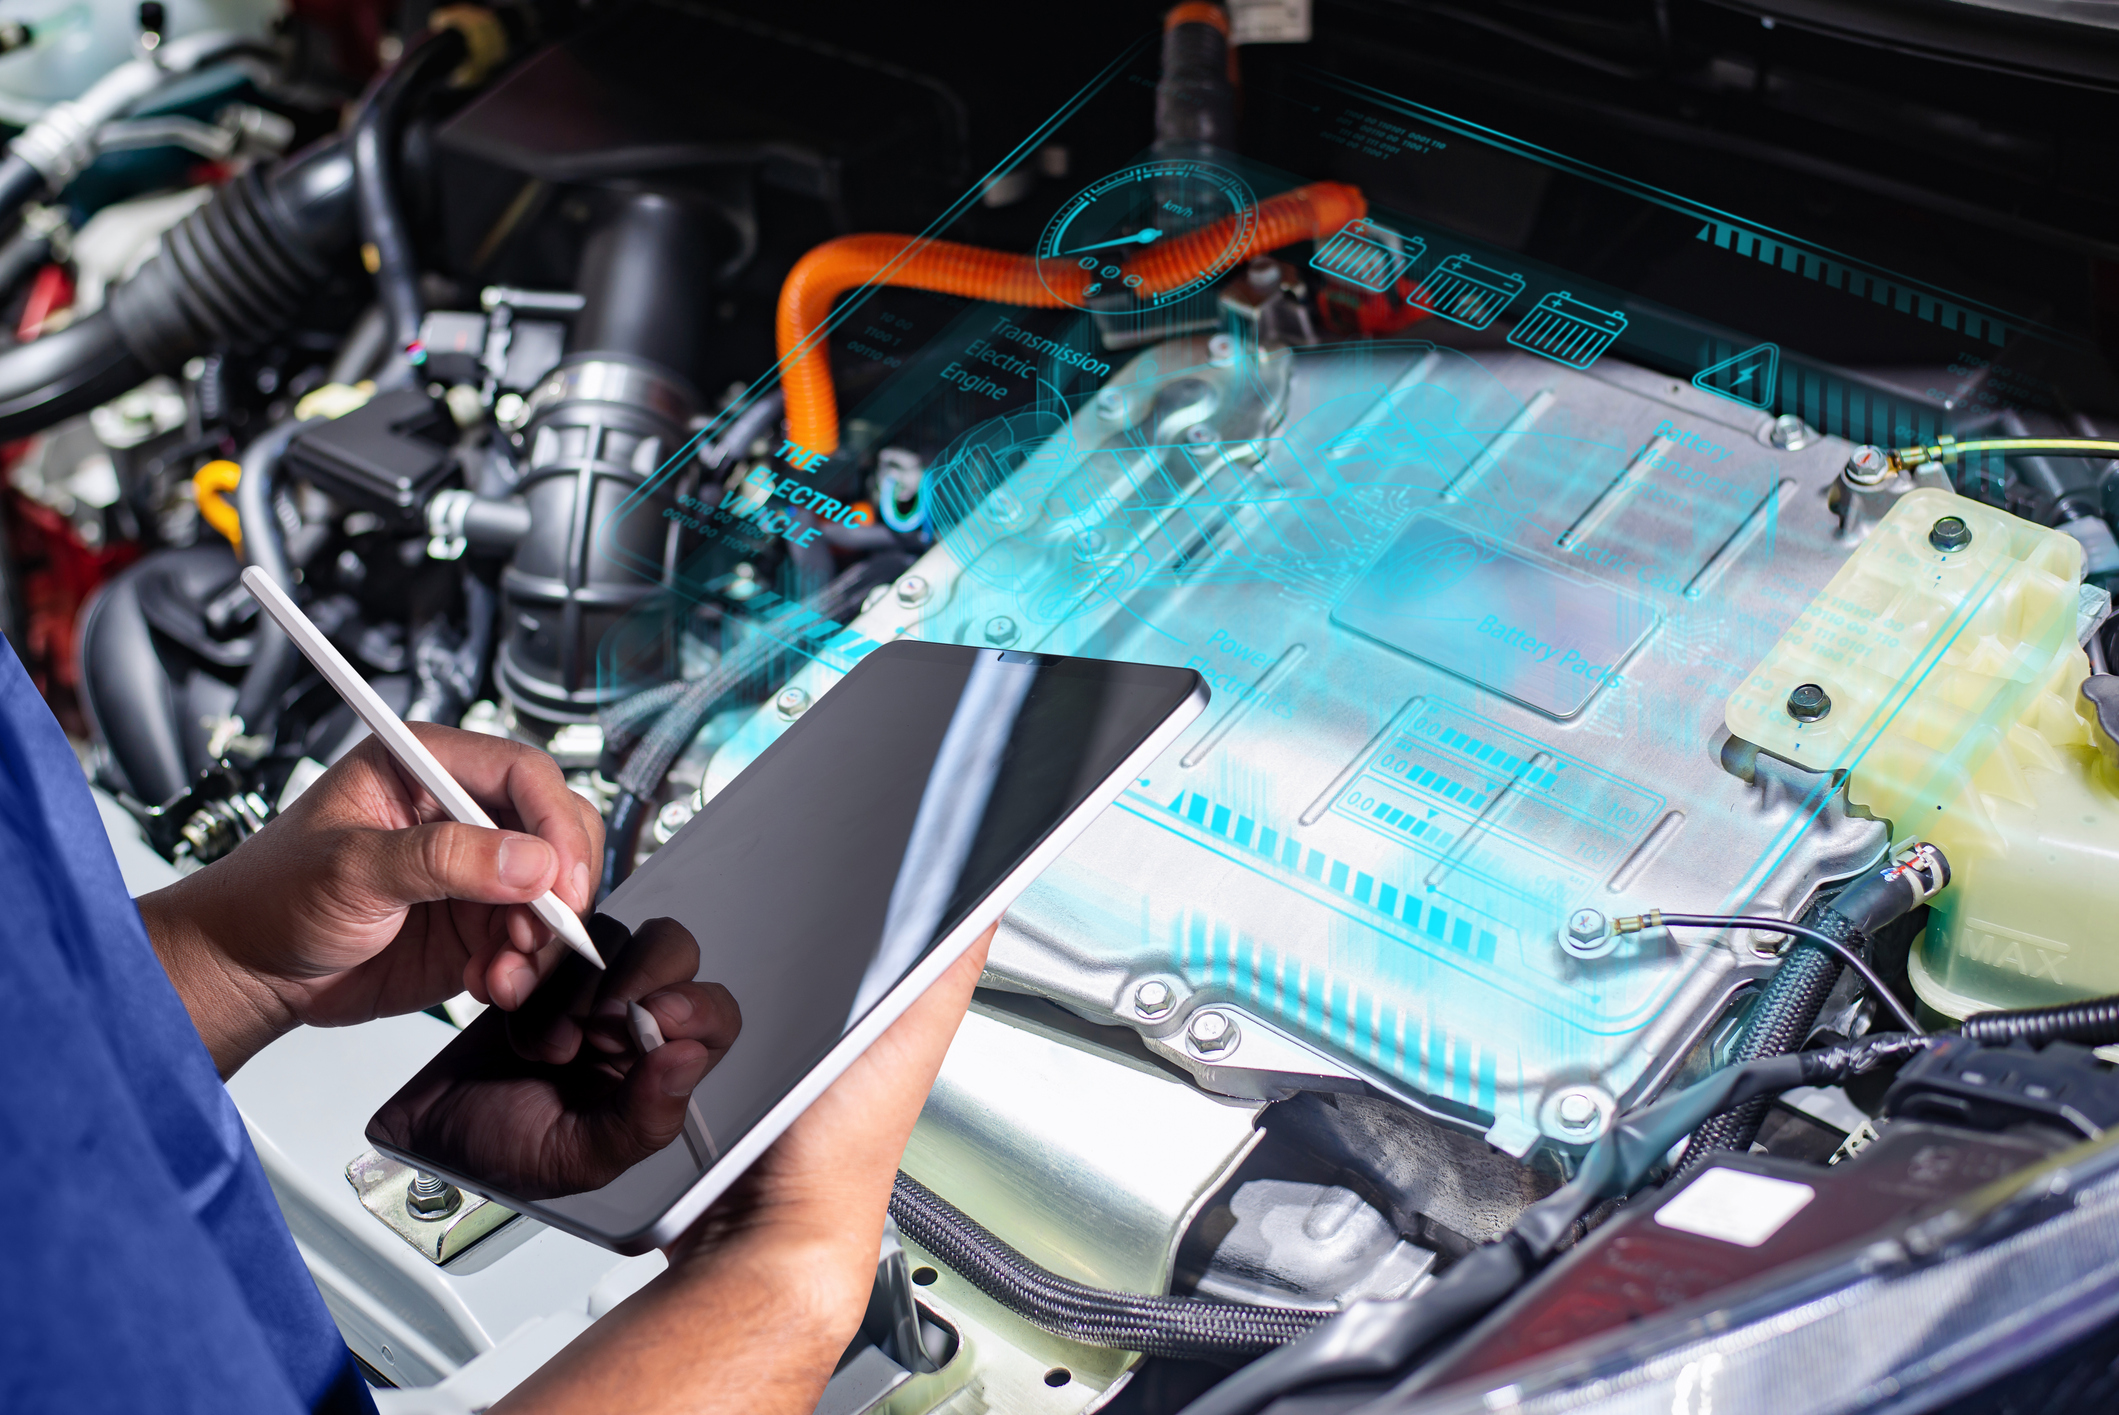
In the image above, a technician used our UV dyes to pinpoint the exact location of the leak, making the problem immediately visible under UV light. Instead of searching around the entire system or relying on guesswork, the bright fluorescent dye highlights the leak path and concentrates at the source, helping technicians identify the specific fitting, crimp, seal, or component that needs repair.
This gives shops a faster, more confident way to diagnose A/C leaks, document the issue, and explain the repair to customers. By showing exactly where the leak is coming from, UV dye helps reduce unnecessary parts replacement, improves repair accuracy, supports faster approvals, and lowers the chance of callbacks from leaks that were missed the first time.
That visual proof supports a cleaner workflow:
- Find the leak source faster
- Show the customer what failed
- Photograph the leak for the work order
- Make a more confident repair recommendation
- Clean the area after repair
- Re-scan the system to help verify the fix
A Simple UV Dye Repair Workflow
- Use the correct dye. Choose a fluorescent A/C dye that matches the vehicle, refrigerant, lubricant, and service procedure. Follow OEM guidance and dye manufacturer instructions.
- Add the dye properly. Introduce the recommended amount using an approved injection method or compatible service equipment.
- Circulate the dye. Run the A/C system so the dye can move through the circuit. For very small leaks, the vehicle may need additional run time or a short drive cycle.
- Scan slowly. Dim the bay lights if needed. Use a compatible UV or blue inspection lamp and enhancing glasses. Check common leak points first: service ports, line connections, O-rings, hose crimps, compressor areas, condenser seams, and the evaporator drain area.
- Trace the glow back to the source. Dye can spread along airflow paths or nearby surfaces, so the brightest concentration is usually the key clue.
- Document, repair, and verify. Take a photo, complete the repair, clean old dye residue, operate the system again, and re-scan for confirmation.
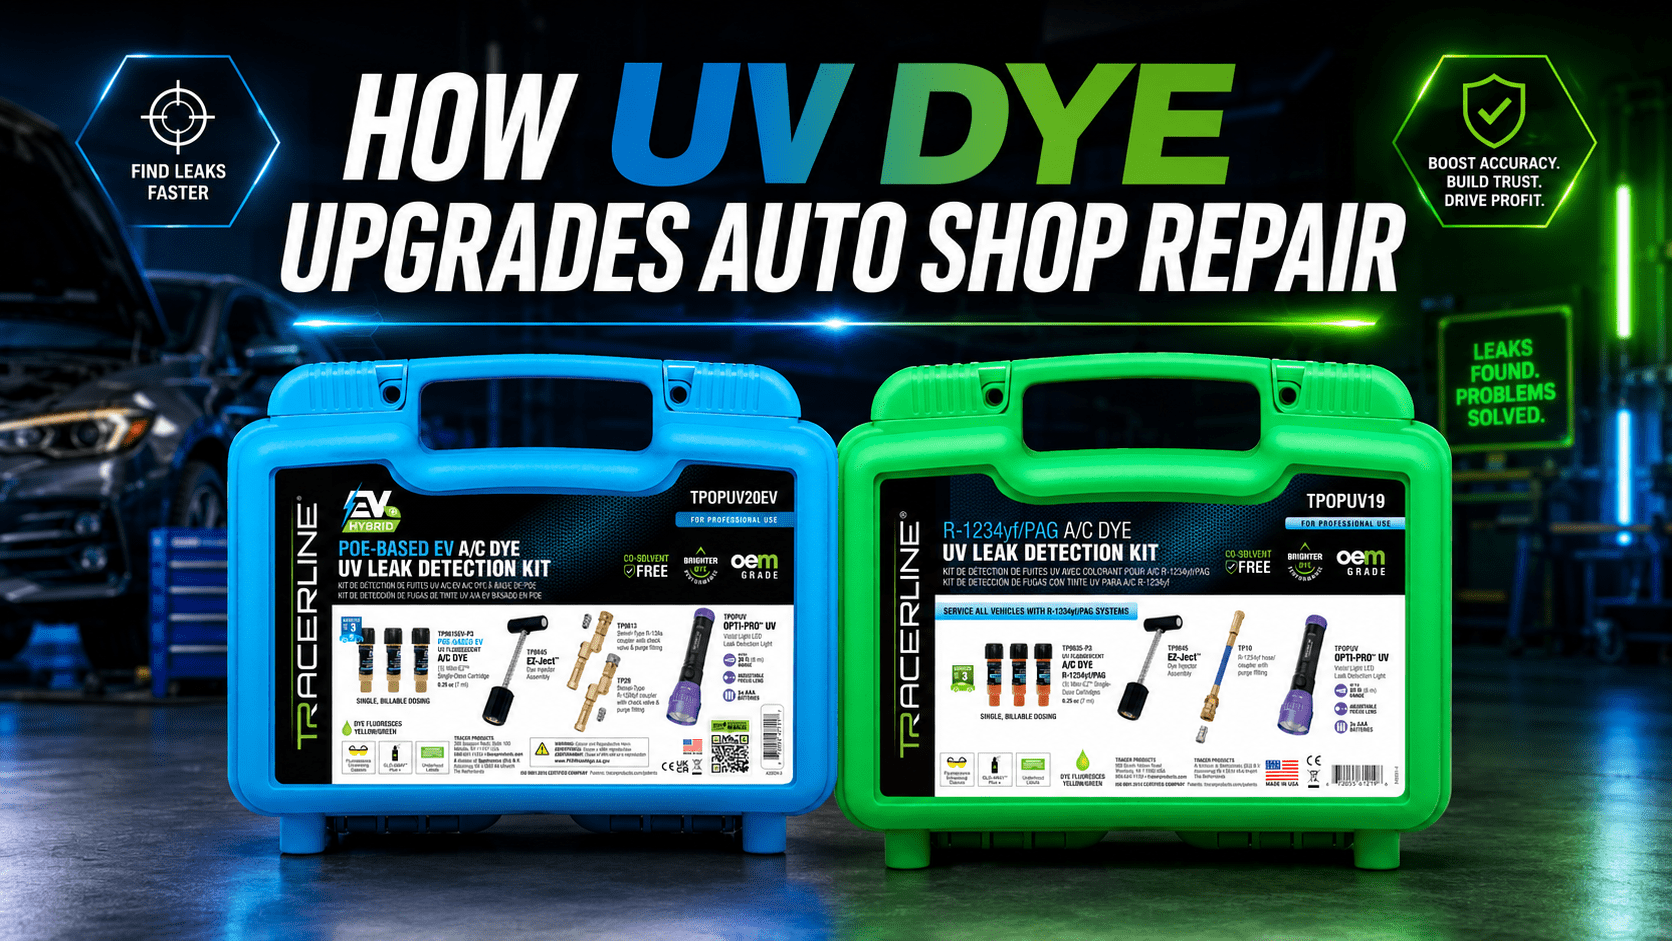
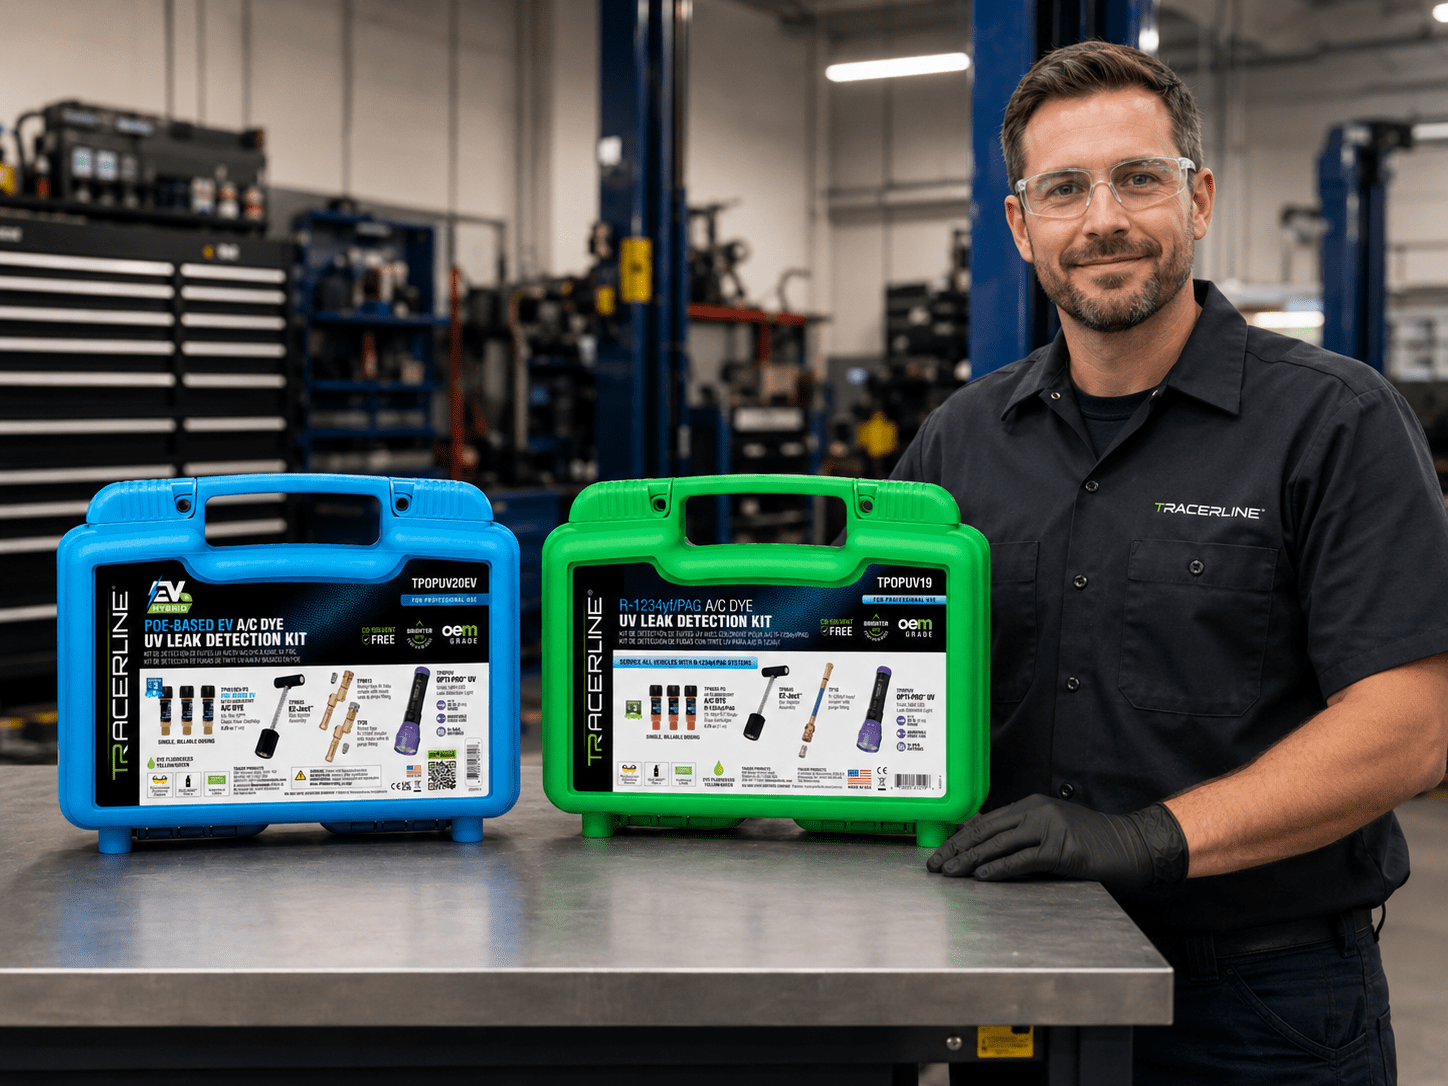
For hybrid and electric vehicle auto shop repair, TPOPUV20EV highlights a POE-based EV A/C dye workflow designed for high-voltage electric compressors and sensitive hybrid A/C components. The kit includes three single-dose EV A/C dye cartridges, the EZ-Ject™ injector, R-134a and R-1234yf swivel-type couplers with check valves and purge fittings, the OPTI-PRO™ UV light, fluorescence-enhancing glasses, GLO-AWAY™ Plus cleaner, and labels—helping technicians keep EV and hybrid A/C leak checks organized, visible, and documentation-ready.
Where Auto Shop Repair Can Save Time and Money
UV dye leak detection is valuable because it supports a repeatable process. The savings are not just in finding one leak. They come from improving the way A/C diagnostics move through the shop.
Shops can benefit from:
- Faster diagnosis: Less time spent searching means more time available for billable work.
- Fewer wrong turns: Visual evidence helps technicians avoid replacing parts that are not leaking.
- Reduced callbacks: A post-repair scan helps catch unresolved or secondary leak points before the vehicle leaves.
- Stronger approvals: Customers are more likely to understand a repair when they can see the leak.
- Better documentation: Photos of dye at the leak source can support estimates, invoices, warranty notes, and internal quality control.
- Higher customer satisfaction: Clear proof and fewer repeat visits create a better service experience.
For high-volume A/C shops, even small improvements in diagnostic speed can add up across the season. A process that saves time on each vehicle, reduces rechecks, and helps technicians repair with confidence can have a real impact on profitability.
Customer Confidence Starts with Proof
Customers do not always understand refrigerant loss. They may think the system simply needs a recharge, even when the real issue is a leak. UV dye helps make the problem easy to explain.
Instead of saying, “We think this part is leaking,” a service advisor can show the customer a photo of the glowing dye at the source. That changes the conversation. The recommendation becomes more transparent, the customer has a clearer reason to approve the repair, and the shop can show that the system was rechecked after the work was completed.
For shops servicing R-1234yf/PAG A/C systems, TPOPUV19 packages the core UV leak detection workflow into one professional kit. It includes Mini-EZ™ single-dose R-1234yf/PAG dye cartridges, the EZ-Ject™ dye injector assembly, an R-1234yf hose/coupler and purge fitting, the OPTI-PRO™ UV violet LED leak detection light, fluorescence-enhancing glasses, GLO-AWAY™ Plus cleaner, and underhood labels. The single, billable dosing format helps standardize the process from dye injection to final re-scan.
Best Practices for Auto Shop Repair
To get the most from UV dye leak detection and auto shop repair, make it part of a disciplined inspection routine:
- Start with a clean area whenever possible.
- Use the right lamp and glasses for the dye.
- Do not overfill the system with dye.
- Look for the origin, not just the path of residue.
- Check for more than one leak before finishing.
- Clean and re-scan after the repair.
- Follow all refrigerant handling rules, safety practices, and OEM procedures.
The Bottom Line
A/C leak detection should not be a guessing game. With Tracerline® UV dye, shops can make leaks easier to find, easier to explain, and easier to verify after repair. That means faster diagnostics, better documentation, fewer comeback risks, and a more confident customer experience.
For shops that want a practical way to improve A/C service efficiency, UV dye belongs in the leak detection workflow.
Explore Tracerline® UV dyes, inspection lamps, injectors, and complete A/C leak detection kits from Tracer Products.
Check out our full video library on YouTube to learn more about our leak detection solutions for different types of vehicle systems.